To use the built-in mail module in MyMip, you will need to configure a sender. The first step for this is to activate an email domain with our partner Copernica. After that you will have to set up some things in your domain so it can be used to send out marketing emails. All this configuration also contributes to your emails being considered legitimate in outlook, gmail, ...
Roadmap #
- Contact your contact at Stratics and provide your email domain (bv.@example.com)
- Stratics sets up your domain & links back with the DNS & forwarding configuration you need to set up
- Add sender in settings
- Now it is possible to sign up your customers with this email address. Congratulations!
Email domain (Copernica) #
Validation #
Validation can be obtained by creating a TXT record. You will receive the correct record name & value from a Stratics employee

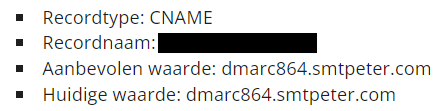
Tracking #
Tracking requires a subdomain to be configured. This subdomain points to our mail solution servers to record clicks and opens there.
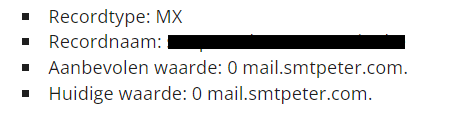
Bounces #
This configuration is necessary to automatically forward bounces so that they are properly processed by our solution and the GDPR is respected
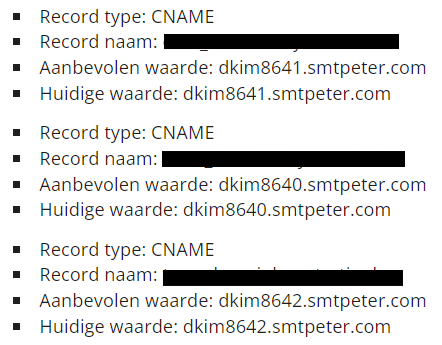
DKIM #
This is needed to send an invisible digital signature along with which recipients can validate the sender address
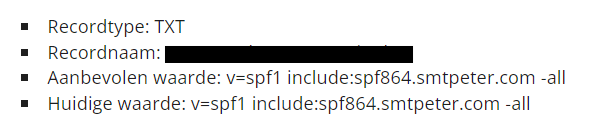
SPF #
This record gives Copernica the rights to send emails with your sender address.
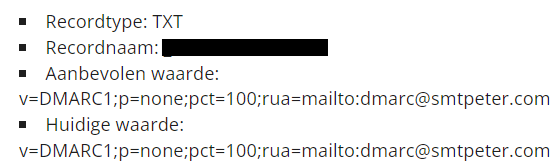
DMARC #
This asks the recipient to handle emails that cannot be validated. This is needed to provide delivery statistics.
CAA / HTTPS #
This is automatically provided by Let's Encrypt. If you have blocked this authority you will need to provide an https certificate (including the private key)
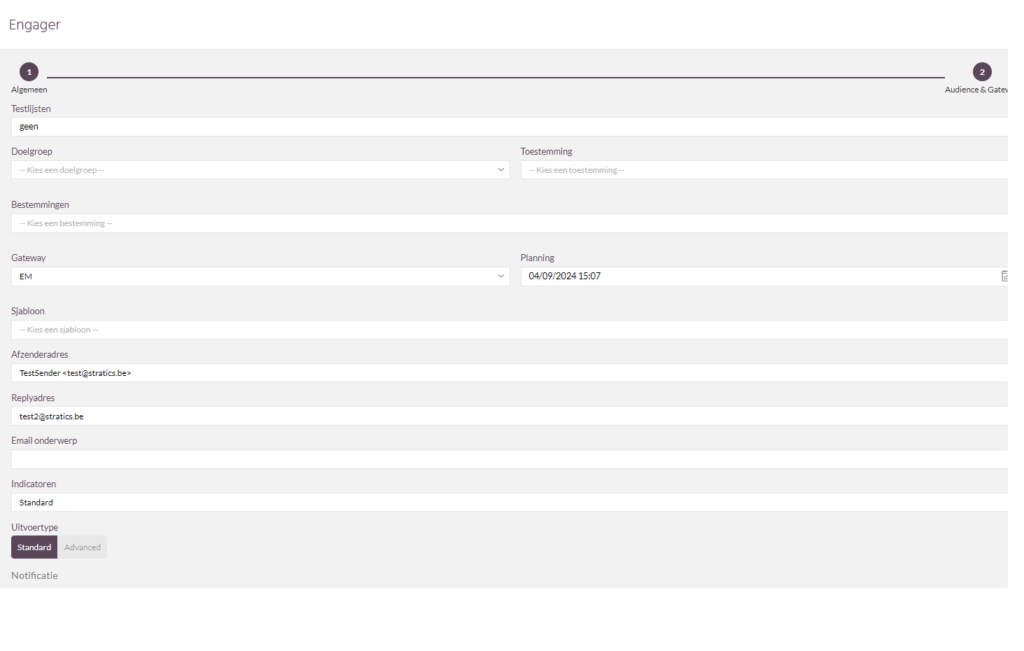
Configure Sender (MyMip) #
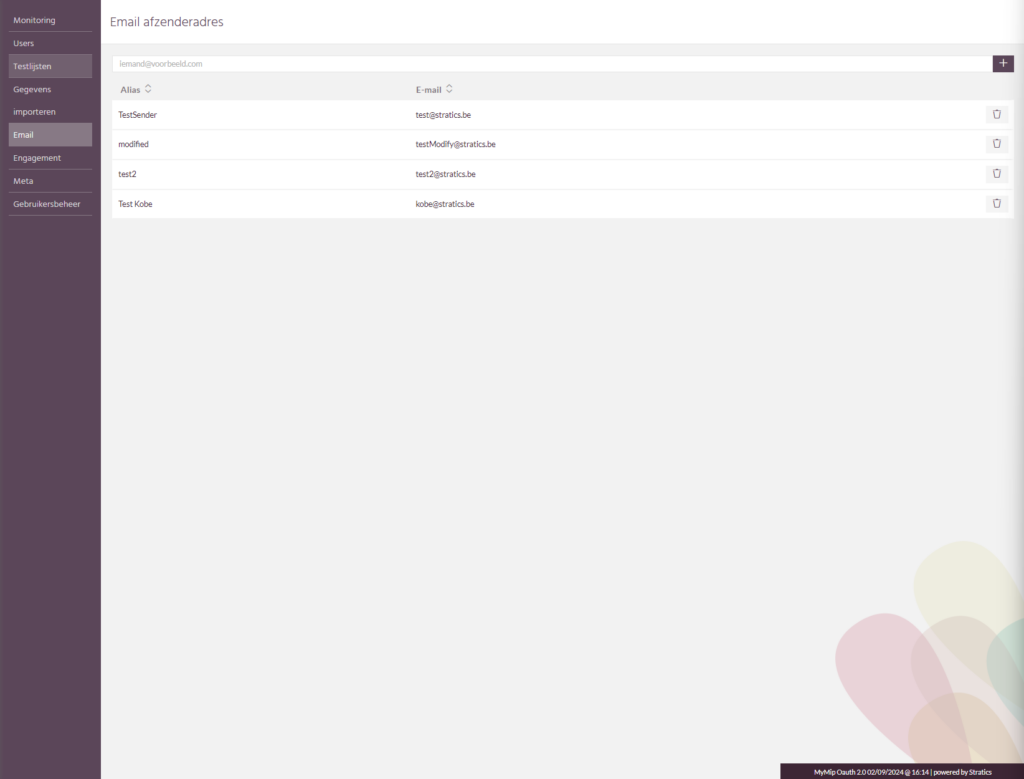
Overview of sender addresses #
You can go to the overview of sender addresses by using the following navigation:
- Settings
This will take you to a page with the overview of your set sender addresses. If you press the plus sign here you can add a new address that you want to send mail to.
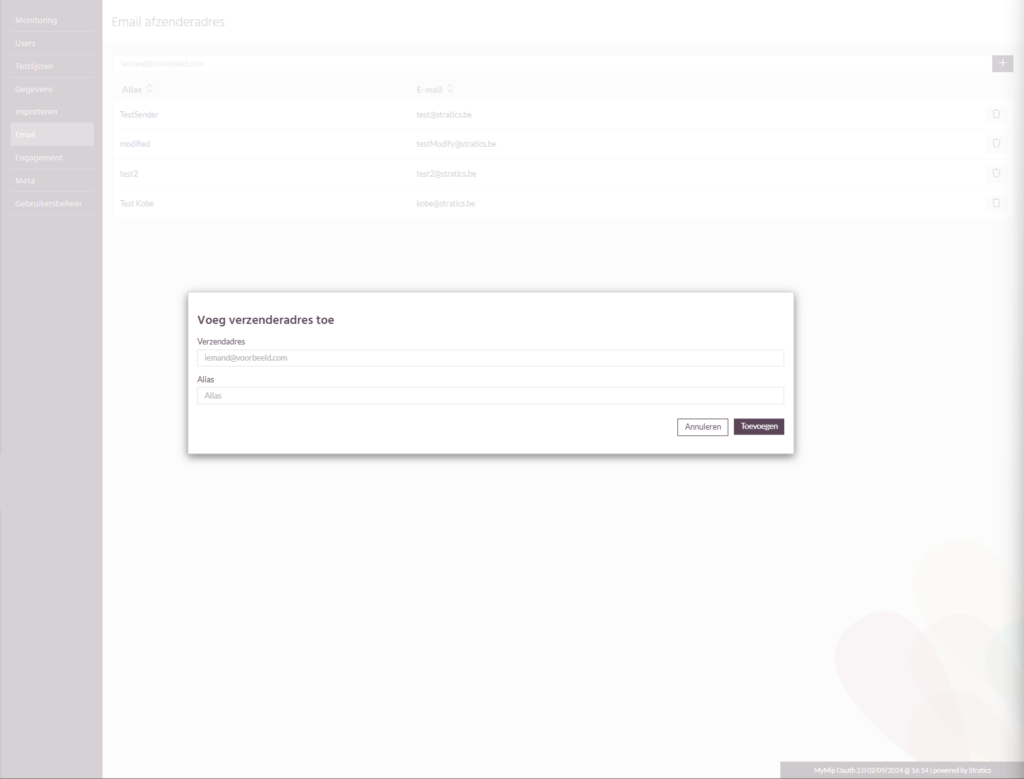
Creating sender address #
This consists of both an e-mail address and an alias. This alias is the name the recipient will see in his e-mail client.
Attention, do not use personal email addresses here! We recommend setting general addresses here such as marketing@example.com
Control #
Now that a sender is set you can use it in the engager for the EM gateway. Congratulations for setting this up. It is recommended that you try this with a test list first before using this address to send out a bulk mailing.